Qualify for free shipping when you spend $20/$50/$85
Qualify for free shipping when you spend $20/$50/$85
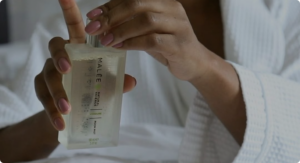
Washing our hands is one of those techniques you’d expect to be so ingrained in our daily life, that it needs no direction or inspection. After all, we use our hands for nearly every task we do. However, numerous studies have shown that we may not be as attentive to this essential hygiene method as we should. A study by cleaning company, SMC Premier, looked at the hygiene habits of office workers. It found that only 61% of those within the study washed their hands properly after going to the toilet. Other research from Water Aid found that as little as 19% of people globally used soap appropriately when washing their hands.
Handwashing techniques are put in place to maintain high levels of health and safety. They are essential in every environment, be that work or residential. And, for this reason, it is vital that we understand the best methods to remove bacteria, viruses and disease-causing contaminants.
In 1938, a study established that the bacteria commonly found on hands can be divided into 2 categories – resident and transient.
Resident microorganisms are seated within the epidermis and are not readily removed. They are unlikely to cause infections unless allowed access to the deeper tissue due to surgery or other invasive procedures. These bacteria are impacted and altered by a number of factors – namely diet, environment and hygiene habits.
These bacteria are found on the surface of the skin, amongst the outer layers. These are not part of the normal flora and usually only survive for a short period of time. They are evident as a result of contamination and can be removed easily through good hand washing techniques.
The variation of micro-organisms that fit within these two categories can range from benign through to pathogenic. The more dangerous of the two can be spread easily through contact – whether that be people-to-people from a surface to the hand. Contaminated items in a specified place increase the risk of infection, however good hand hygiene is one of the most effective ways to minimise this.
The right handwashing techniques depend largely on the task that is being undertaken. Identifying the most appropriate method ensures that adequate caution is taken to minimise the spread of infection, bacteria and other potentially harmful substances. These three techniques are:
This is the most common form of handwashing. It requires you to use soap and warm water to remove dirt, dead skin cells and transient organisms. This method is recommended for when hands are visibly soiled. It should be used:
Instructions from the World Health Organisation require users to follow a 12-step process that should take 20-30 seconds to complete. By focusing on the different areas across the hands and following safe tap use methods, it is possible to reduce the presence of bacteria to as low as 8%.
Here, the individual uses antiseptic handwash or an alcohol-based antiseptic handrub. This routine has been structured for high-risk situations – traditionally when coming into contact with unwell patients or before an invasive, surgical procedure. It can also be used after contamination, once you have washed your hands with soap and water. Alcohol-based sanitisers containing at least 60% alcohol can inactivate microbes when used appropriately. They should be allowed to dry fully after use.
This method works best when hands are not heavily soiled or greasy. The antiseptic gel should be applied to the palm and then rubbed over all surfaces of the hands until it dries.
More tailored towards use by healthcare professionals, surgical hand hygiene is used prior to operating or invasive procedures. It requires the participant to effectively remove transient microorganism while suppressing resident floral to minimise infection spread. While surgical professionals wear gloves at all times, this method minimises the risk of infection in the event that these gloves split. The CDC also recommends that fingernails are kept short and are cleaned underneath to remove bacteria and dirt. This minimises the risk of glove damage and should be paired with the removal of items such as watches and jewellery.
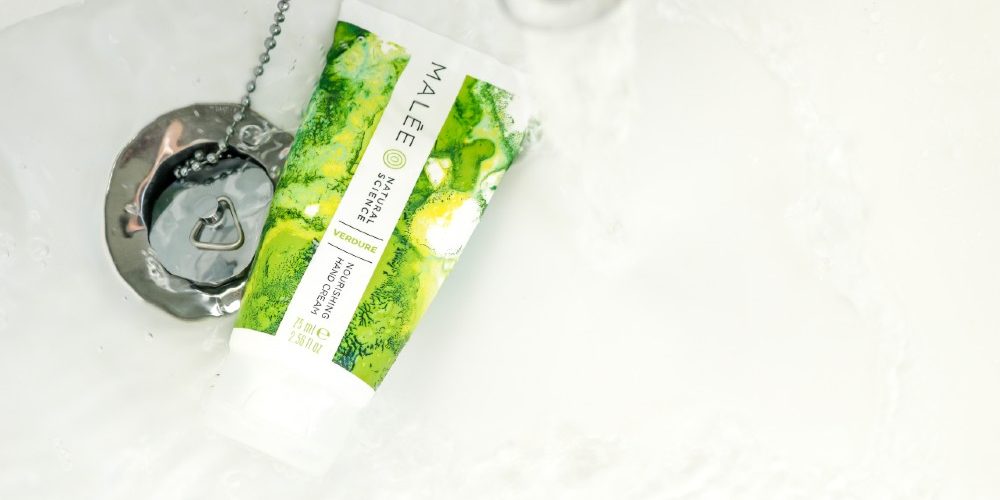
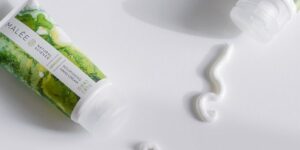
Handwashing is essential, no matter the setting. However, our skin does not react well to excessive cleaning. Soaps break down the skin’s natural protective layer that helps to maintain moisture. If appropriate hand creams are not used, it’s common to see symptoms such as dryness, itching, flaking and cracks – specifically between fingers and around the knuckles. A rich hand cream, such as the Malée Verdure Nourishing Hand Cream uses scientific research and natural products to rehydrate your skin. Beeswax helps to restore this barrier without clogging pores and acts as a humectant to attract water. Avocado Oil thickens up the top epidermis later and also helps to repair this skin barrier. And, Sweet Almond Oil reduces dermatitis on hands and helps to relieve itching. Use a pea-sized amount after every hand washing session, allowing it to be fully absorbed for the best results.
Handwashing techniques are commonly misunderstood and dismissed as general knowledge. However, with a high percentage of individuals still not following the most appropriate procedures, our health & safety remains at risk. Using soap and water for a 20-30 second period and then using a nourishing hand cream helps to remove contaminants and restore the protective layer of oils and waxes on your skin.


If you want to get the latest news and earn towards each purchase, simply complete the form below and we’ll be in touch with you.
Nothing completes a look quite like perfectly plumped lips with lipstick. Unfortunately, whether you’re going for full gloss or a matt finish, flawless lips aren’t all that easy to achieve. If you’re one of the 36% of women who use lipstick as part of their daily beauty routine, we’ve got the best tricks and tips to get that pretty pout. We’ll let you in on a secret early: long-wearing application is all about the prep work.
In addition to smudging onto teeth and clothes, lipstick is very good at highlighting any cracks or dryness on your lips. Our skin renews itself about once a month and our lips are no exception. Which is why exfoliation is essential. Using a gentle scrub is the best way to slough off dead skin cells and prevent any clumps or flaky skin from dulling your smile. It will also keep your lips looking and feeling supple.
Go for a salt-based scrub that contains alpha-hydroxy acids (AHAs). While sugar might taste better, salt is often finer and gentler on the lips. The AHAs provide a chemical exfoliation that not only smooths skin, but also supplies moisture. Not to mention the increased collagen production that will result in a plumper pout.
The skin on our lips is incredibly thin and sensitive. As a result, it’s more prone to dehydration and dryness than other parts of our dermis. More often than not, hydration comes from within, so it’s essential that you drink plenty of water to maintain a perfect pucker.
Balms and moisturisers provide hydration from the outside. Keep a lookout for shea butter, coconut oils and antioxidants like Vitamin E on the labels of products. Lips simply love these nourishing ingredients. We recommend a applying a conditioning moisturiser to your skin and lips daily, or giving it a treat with an intense nourishing oil.
If you find your lips are dry and you haven’t got any balm about, try to avoid licking your lips. Saliva contains enzymes that damage the top layer of skin, making them sensitive and even drier.
Once your lips are smooth and supple, it’s best to apply a lip primer. This will help to create a sleek surface for your lipstick application. No need to worry if you don’t have a primer – just layer on a bit of extra balm followed by a dab of concealer or foundation.
Once your primer is set, it’s time to line your lips. Although bad lip-lining habits from the ’90s and early ’00s left many of us traumatised, liner is an essential if you want long-lasting lip colour. It helps to prevent lipstick from bleeding outside the lines of your mouth and provide a great base for the pigment to cling to.
Once all the prep work is done, your lipstick should glide on easily to create a perfect pout. Although it’s not essential, a lipstick brush is best for precision application. Start from the centre of your lips and work outwards to the corners, making sure to cover your liner. Add more coats to intensify the colour if you like.
Finally, the most important step for a perfect lipstick look: a megawatt smile.
Getting perfect lips with lipstick is all about the prep work. Start with a gentle exfoliator, be sure to get plenty of moisture, prime, line and add your pigment.
If you want to get the latest news and earn towards each purchase, simply complete the form below and we’ll be in touch with you.